While running errands this morning I bumped into a woman who I've met once or twice. She re-introduced herself to me (we're Facebook friends) and we began chatting. She was sweet and lovely and we hit it off almost immediately. I was glad she took the time and made the effort to come say hello. Toward the end of the conversation she asked "So, can I ask for a recipe or do I have to attend a class first?" With some trepidation I replied "Sure, what recipe do you need?" I was a little nervous that she would ask for something a bit obscure but was immediately put at ease when she said that she just made her first Passover dinner and was wondering how I do my brisket. Sounds like hers perhaps wasn't stellar, but there's always next year...
I've made brisket so many times I could do it while in a coma. As it happens, I was on my way home to put a brisket in the oven for our Passover Seder tomorrow. I know, tomorrow is Easter, but it's also the only day all of my kids could be here. So tomorrow morning we're having an Easter Egg Hunt and tomorrow evening a Passover celebration (again). I always say I love to celebrate and tomorrow I'll be doing plenty of it!
Getting back to the brisket...I decided to show you step by step the easiest way to make an incredibly delicious brisket that everyone will love. Here goes:
First, assemble the seasonings...Salt, Black Pepper, Lawry's Seasoned Salt, Garlic Powder, Worcestershire Sauce, Bay Leaves and Paprika (not shown).
Here's my brisket. See all that fat on the top layer?? You want that. Yep, all of it. It will add great flavor and keep the meat moist. You can cut it off later or trust that the people you're serving will have the good sense to do that for themselves.
Now, cut up one large onion into about 8 wedges. No need to count. This isn't rocket science.
Strew the onion wedges into the bottom of your roasting pan. Separate the wedges so the pieces lightly cover the bottom of the pan.
Lay the brisket on top of the onion - fat side down. generously season the meat in this order: Salt, Pepper, Lawry's Seasoned Salt, Garlic Powder and...
Worcestershire Sauce - drip some onto the brisket and use a brush to schmear it all over the meat.
Follow with more Lawry's Seasoned Salt and Paprika.
Now, turn the meat over leaving the onions in the bottom of the pan. Season the fat layer of the brisket the exact same way you did the other side. Cut another onion into quarters. Put a Bay Leaf on top of the brisket at the center. Put a little piece of onion to hold it down and place the onion quarters on each corner of the brisket.
Pour water into the pan around the brisket until it is a good half way up the sides of the meat.
Cover the roasting pan using either the lid it comes with or a tightly fitted layer of heavy duty aluminum foil.
Put the pan into the oven which has been preheated to 325 degrees. Leave it in there. Don't look, don't check it. Really, just ignore it. For four hours. Exactly four hours. At the end of four hours carefully remove the pan from the oven. There will be lots of really hot liquid in the pan. Carefully remove the lid or foil starting with the corner away from you as very hot steam will poof out. Take a long-tined fork and insert it into the middle of the brisket. It should insert and come out very easily. That's how you know the brisket is done.
So, run to the market and pick up a brisket so you can get it into the oven. It's better when you make it the night before you want to serve it or you can freeze it for later use. I'll add pictures of mine when it comes out of the oven. Two hours to go...Plenty of time to get tomorrow's chicken started, too.
Saturday, April 23, 2011
Tuesday, April 5, 2011
Where do all the tomato plants go??
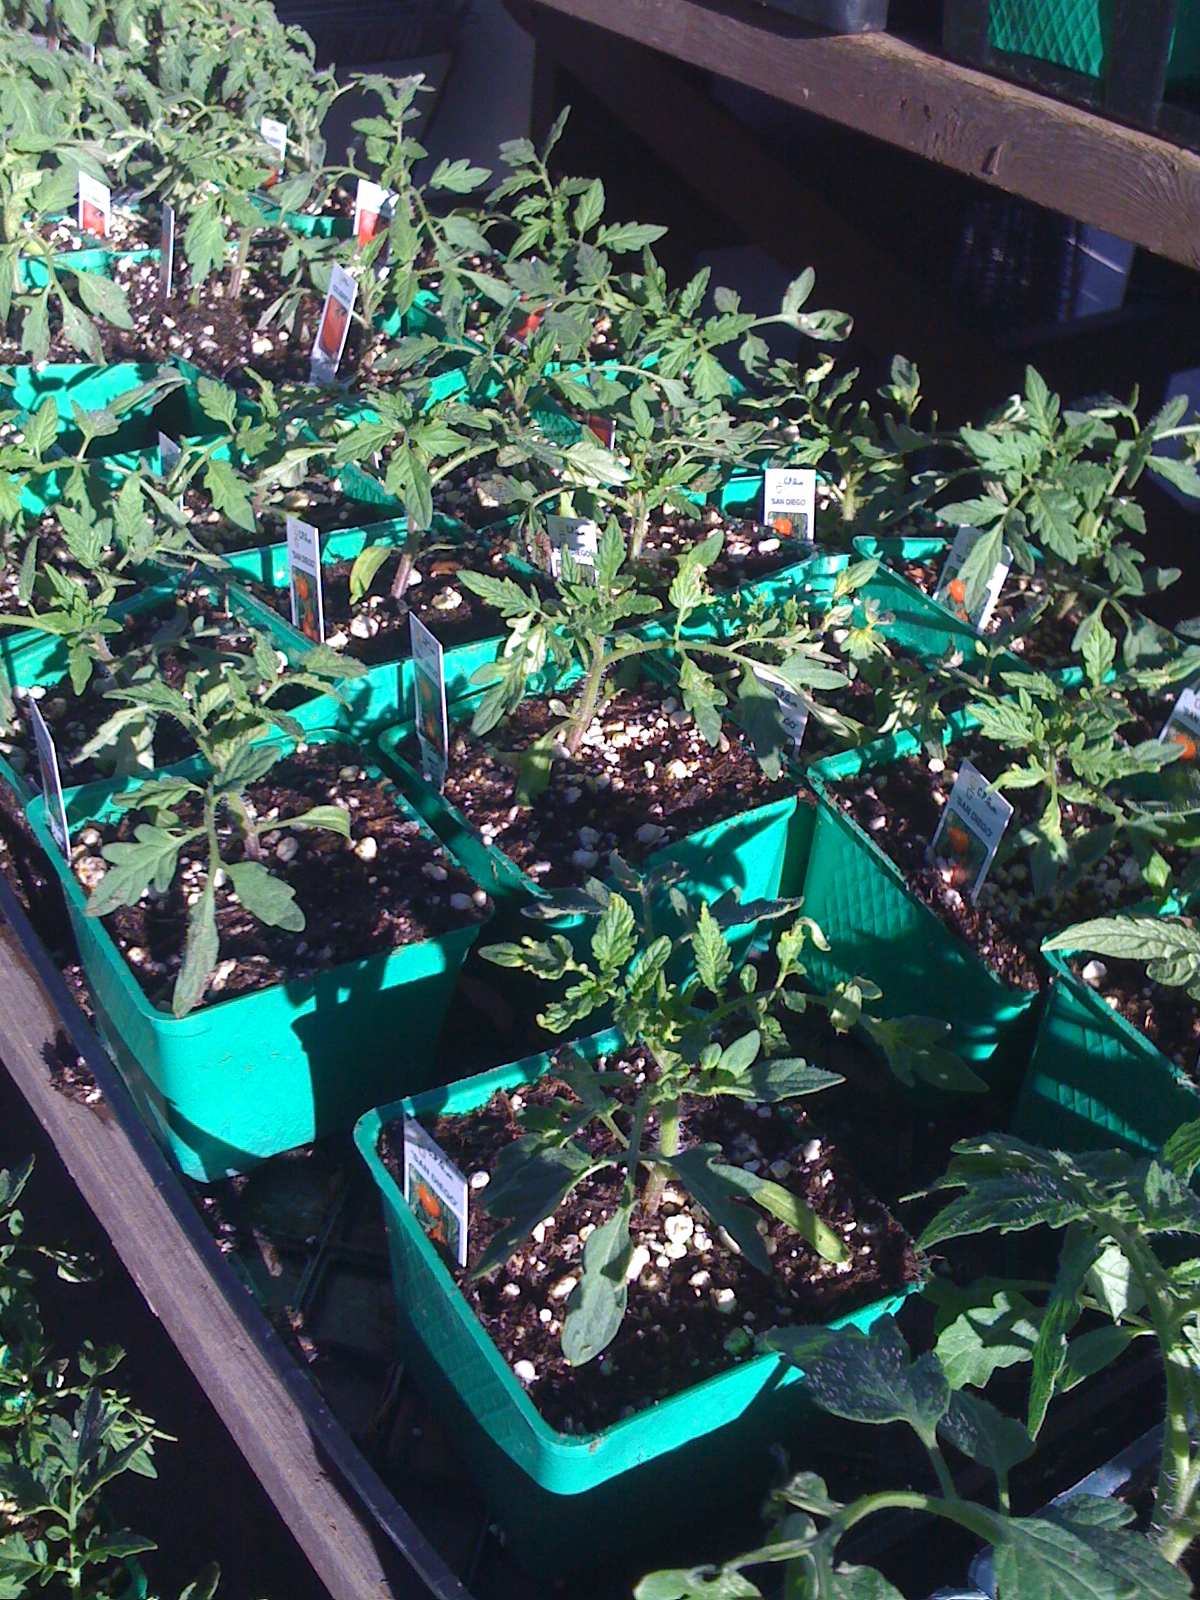
Every Spring my collection of tomato plants seems to exceed the amount of space I have in the ground. I cannot go to a nursery or seedling sale without coming home with a new variety that sounds so wonderful I just have to try it, or a duplicate of one of my favorites. Can you ever have too many Pineapple tomatoes? As I run out of space in my raised beds I turn to containers for additional tomato plants. For years I have used 15 gallon plastic containers that I buy at the big box store or sometimes at the local nursery.
The containers, as you can see in the photo are black. And, you may also notice that they're sitting on a basketball court, which in Woodland Hills summers, translates to really hot! The containers are always elevated on pot feet, both to facilitate drainage and to keep them from direct contact with the hot cement. I've often put a layer of artificial turf underneath them. And this year, I think I might paint them white to help them reflect the heat rather than absorb it.
You may be wondering why I use such large containers. The answer to that is quite simple ...soil! I need enough growing medium in the container to support the huge root system that the tomato seedling will quickly develop. A smaller amount of soil will drain too quickly, taking all of the wonderful nutrients that I carefully provide my plants along with it. The result will be more frequent watering (leaching the soil of even more nutrients) and over watering is exactly what leads to unhealthy plants producing tasteless tomatoes!
When choosing containers, the most important things to look for are size and proper holes for drainage. Ideally, you want a container with 3 drainage holes at the bottom of the side wall of the container. You'll see pots made of all sorts of materials - terra cotta, plastic, half wine barrels and paper pulp. I've always used plastic containers but have to admit that the pulp pot did quite nicely last year and even held up well enough to be used again this season.
Don't let a lack of ground space keep you from growing your own tomatoes. Containers just may be the answer for you.
Monday, March 14, 2011
Oh What a Happy Day!
Even if I tried, I couldn't hide my excitement! This has been a weekend of "tomato talks". I attended a seminar and gave two tomato growing classes. Clearly, that means that tomato planting time will soon be here and that has me almost jumping for joy!
I like to use March 15 as a target date for planting tomatoes. It's more important, though, to watch the local weather forecast...tomatoes won't do well in cooler than 50 degree temperatures. So, before heading to the veggie patch with your gloves and trowel make sure that the nighttime low is expected to remain above 50 degrees before planting.
In case this post whets your appetite and leaves you hungering for more on how to and when to plant tomatoes, register for my next "Yes, You Can Grow Tomatoes" class on Saturday, April 16 at 10 am.
I like to use March 15 as a target date for planting tomatoes. It's more important, though, to watch the local weather forecast...tomatoes won't do well in cooler than 50 degree temperatures. So, before heading to the veggie patch with your gloves and trowel make sure that the nighttime low is expected to remain above 50 degrees before planting.
In case this post whets your appetite and leaves you hungering for more on how to and when to plant tomatoes, register for my next "Yes, You Can Grow Tomatoes" class on Saturday, April 16 at 10 am.
Subscribe to:
Posts (Atom)